designing, wiring, programming, and more!
Going into my senior year of high school, I knew that I wanted to branch out and do something different. My school didn’t offer classes that truly aligned with my interests, leading me to inquire about making my curriculum. The result of many emails and questions was an “engineering independent study,” in which my proposed self-taught, year-long curriculum was brought to fruition.
Weighing multiple options and learning paths that I could follow, I eventually decided to learn Arduino - a small microcontroller with endless opportunities. The courses I found online taught me the fundamentals, from which I could build my projects. However, these projects would require much more research to implement, which resulted in the most rewarding lessons.
With a few projects under my belt, such as a device that measures distance using an ultrasonic sensor, a variable-speed DC motor, and an RFID scanner, I felt ready to construct my calculator. This project would require the most thought and planning yet, as my dream was to construct everything: the screen, keypad, motherboard, and case.
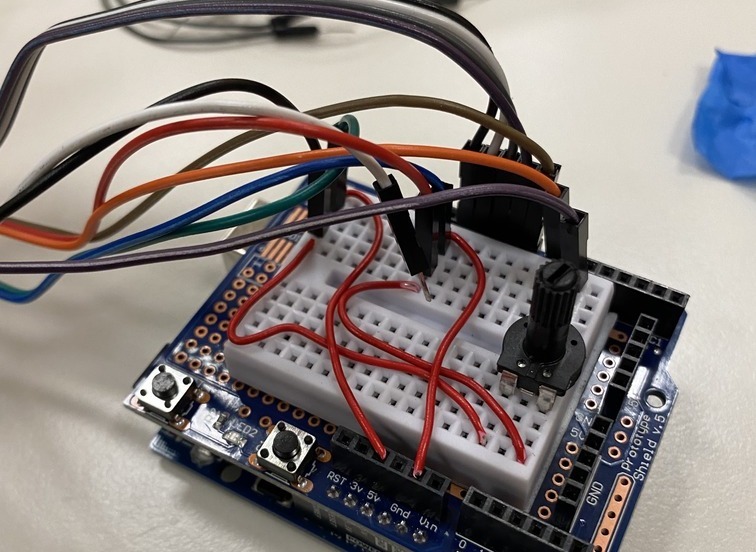
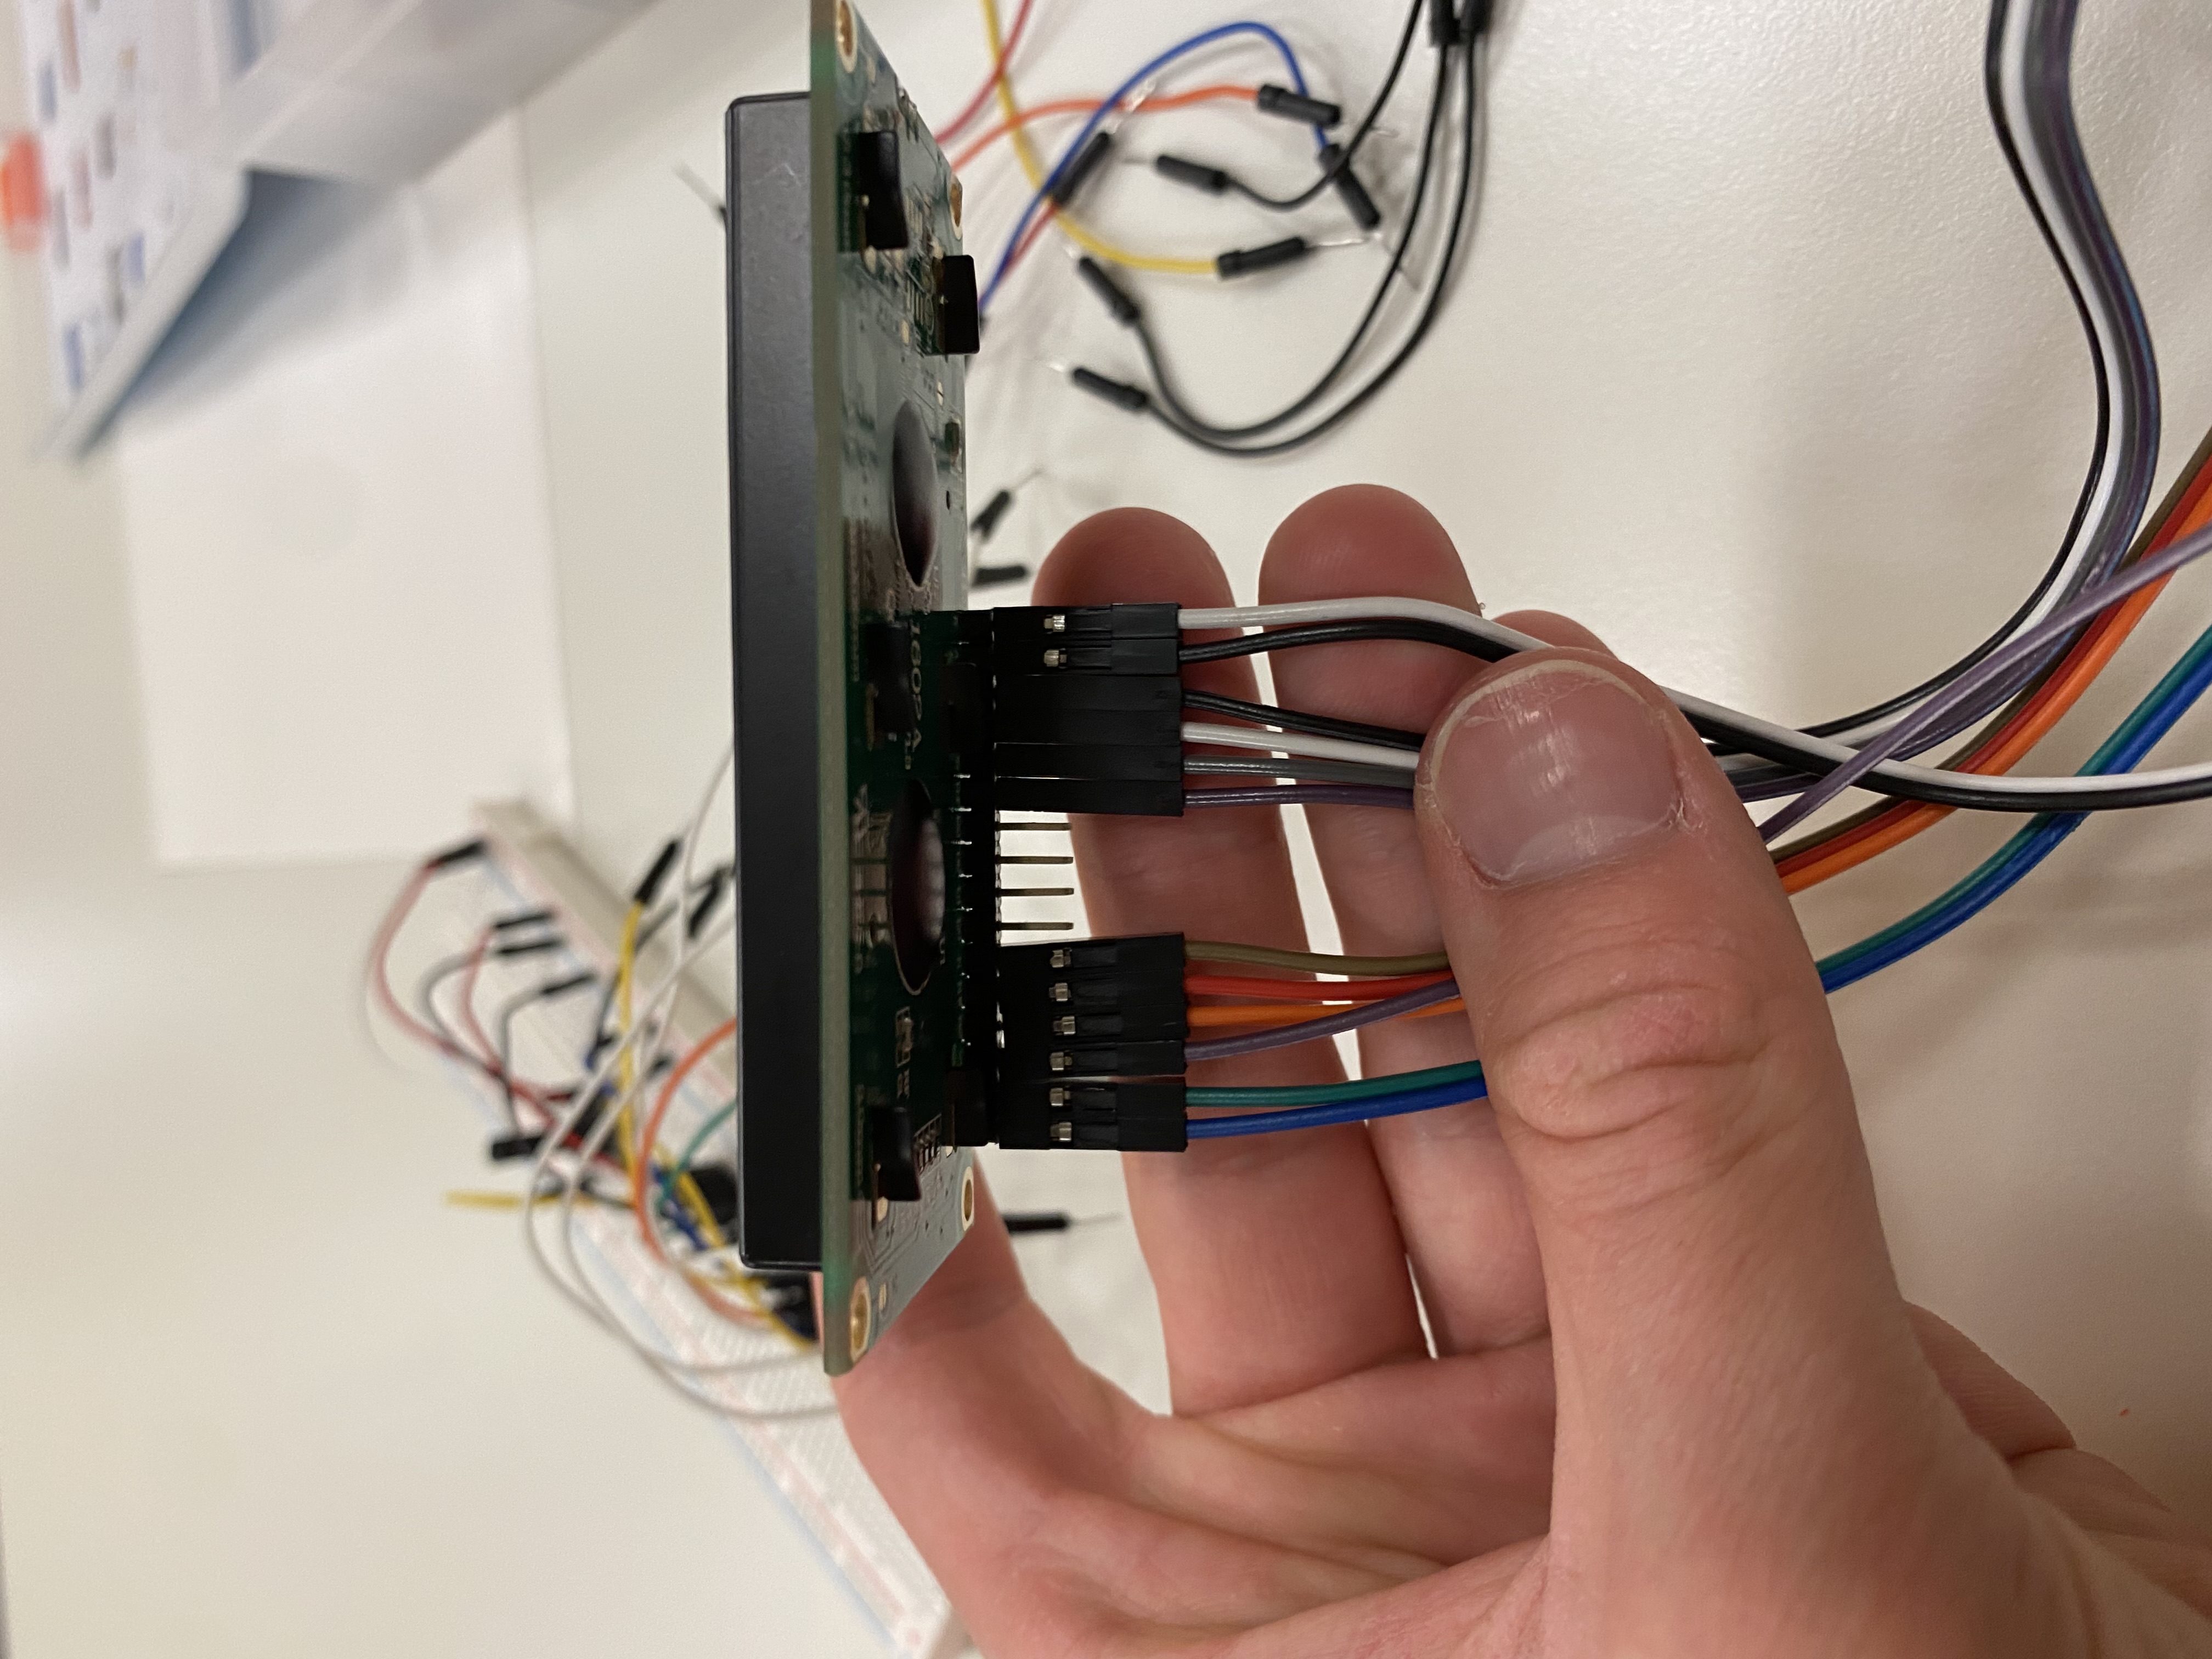
I started my imagining what the electronics would look like: a 16x2 LCD screen, a 4x4 keypad, a 9V battery, and an Arduino Uno. I decided that the entire circuitry would be housed on a shield, which would allow easy disassembly if I wanted to use my Arduino for other projects later on.
Here is the circuitry for the LCD:
With the circuitry all wired up, the programming came easily. The classic “calculator program” can be written by programmers in minutes, and this case was no exception.
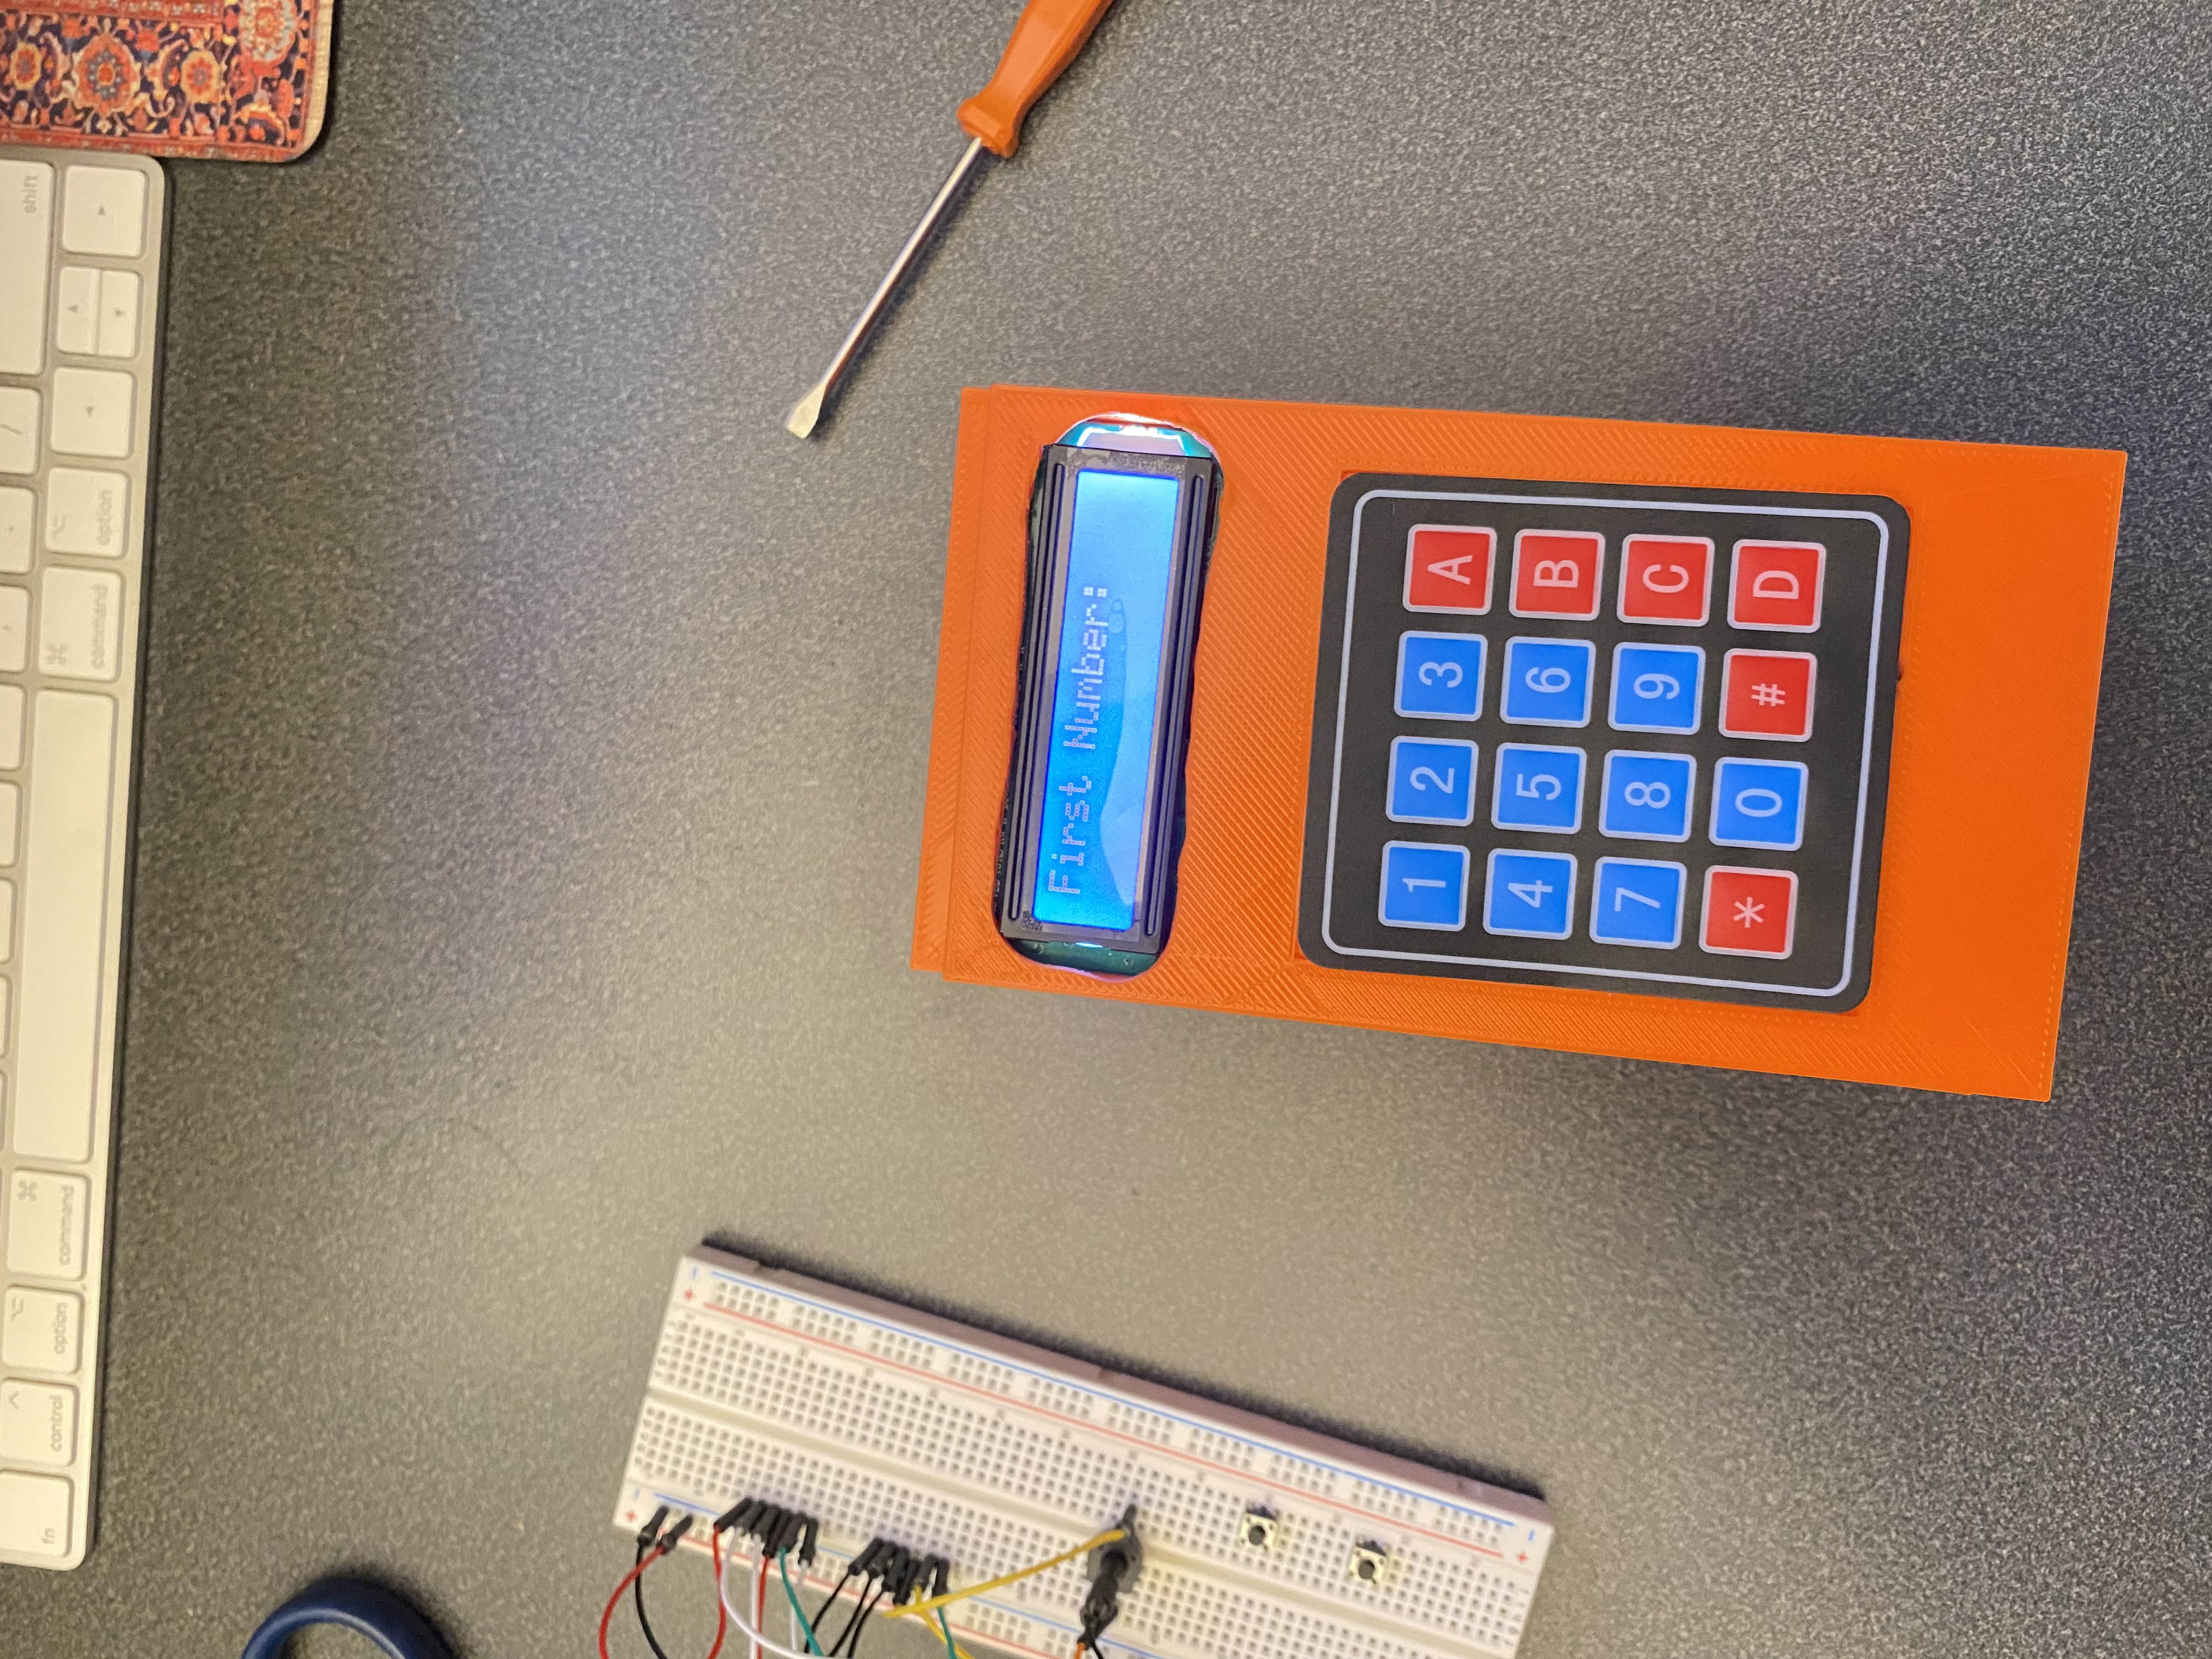
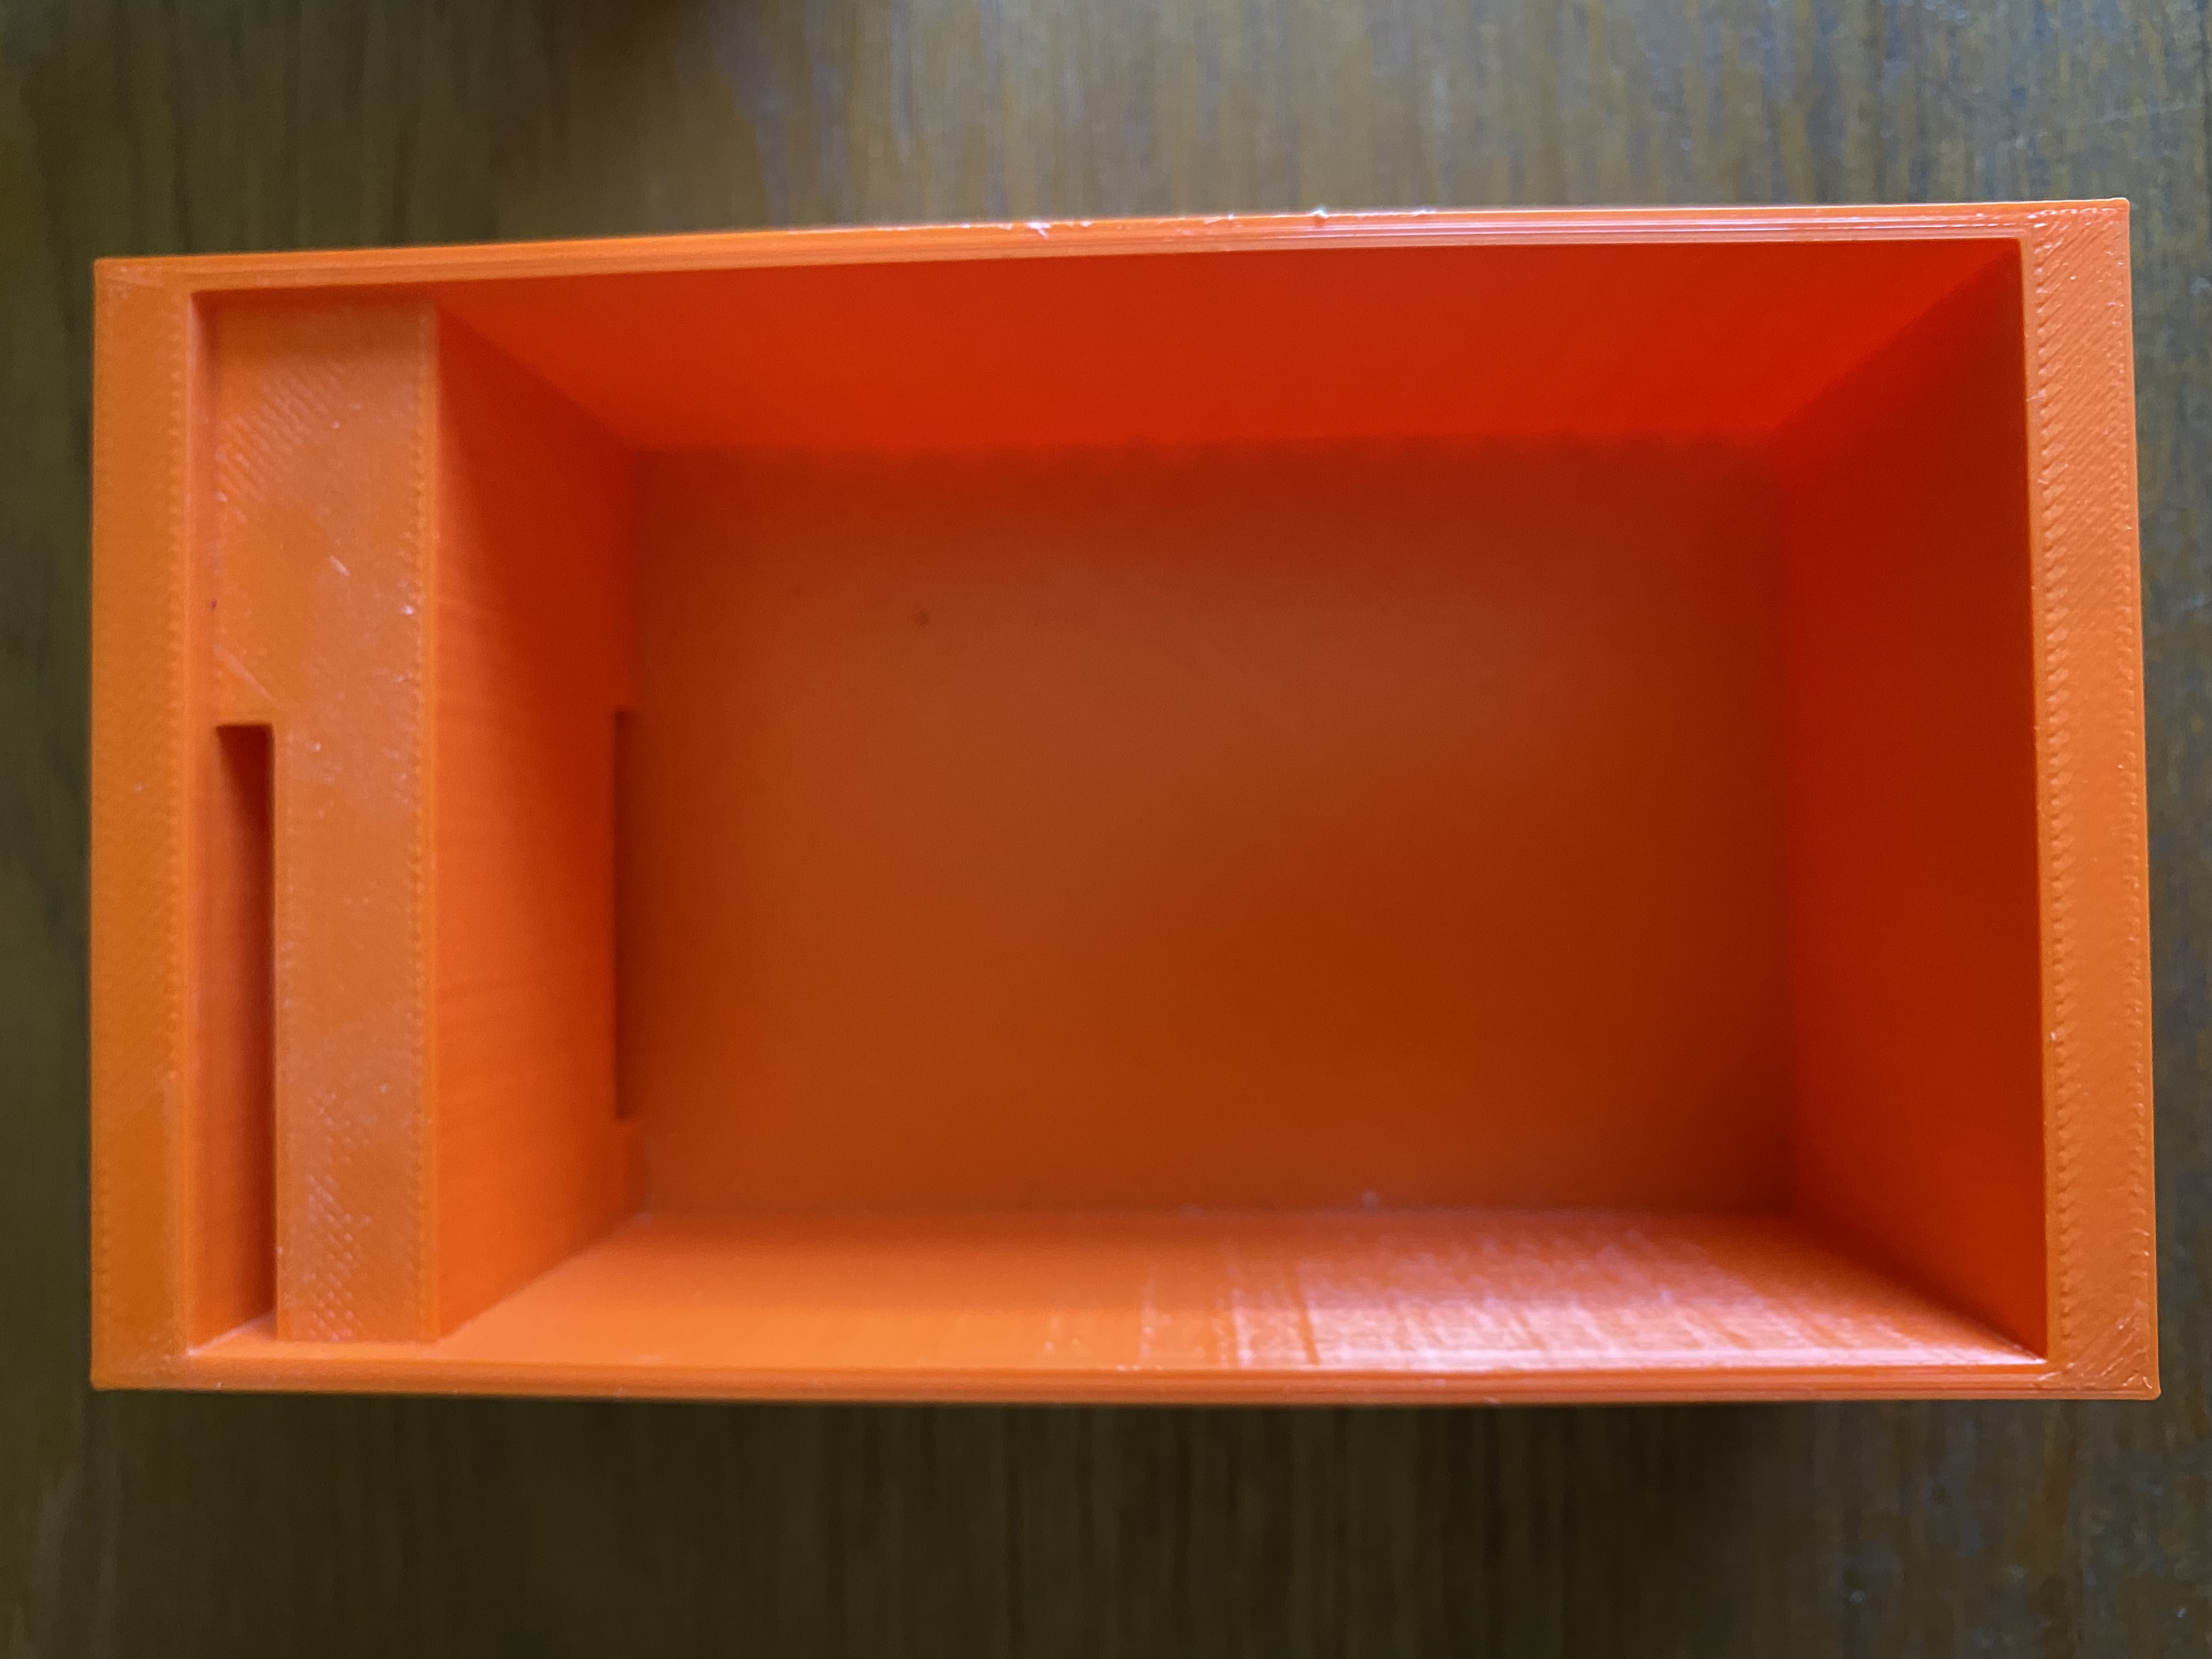
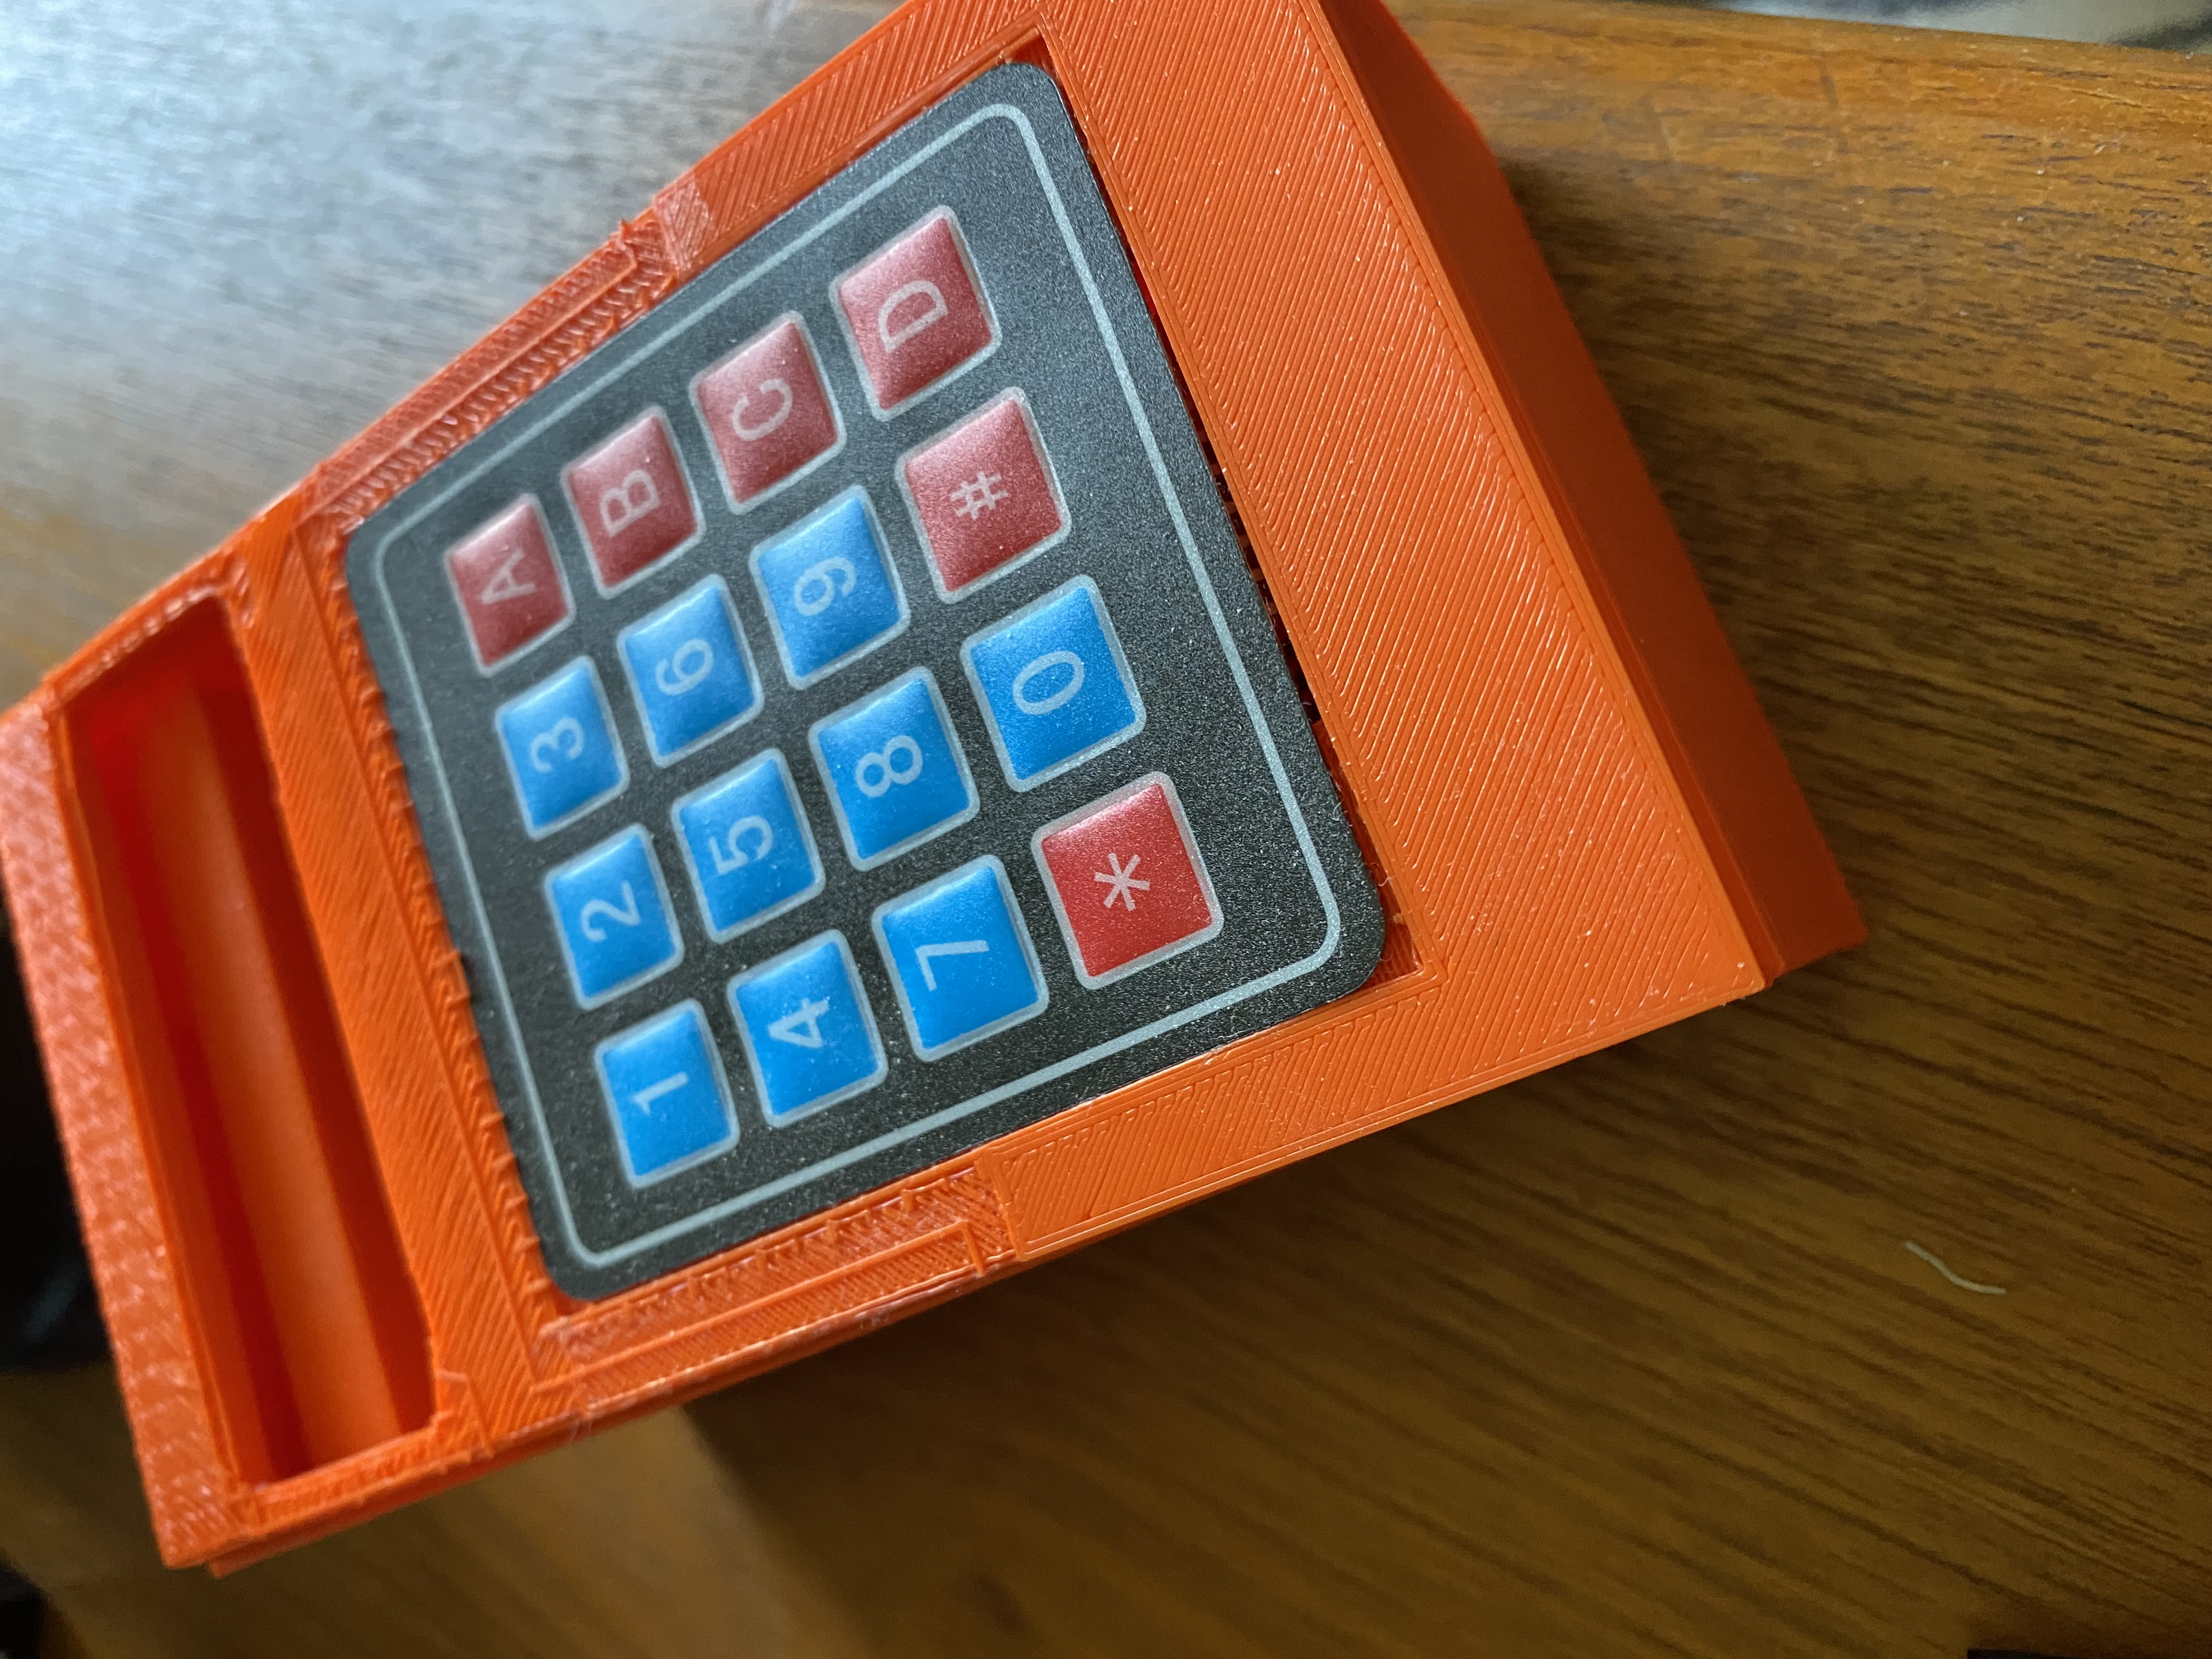
Now was the time for the case. This was where my experience in CAD software (SolidWorks) would come in handy. The design was a simple rectangular box that would be thick enough to house all of the electronics. Then a thin lid with holes for the LCD screen and wires of the keypad was designed to fit over the case. The lid also had a slight indent to allow for the keypad to sit flush with the top of the calculator. Here is a picture of the finished product:
After some debugging and repeated attempts at printing on the 3D printer, the calculator was complete! Its “maiden voyage” would be at my high school’s technology fair, where I had my table to arrange all of my programming and electronics projects.
The calculator was extremely well received by the public, who were extremely intrigued by the “from scratch” aspect of this project. It is fair to say that I am proud of myself as well, as this project was ambitious at the time, and taught me a lot in multiple disciplines of engineering and computer science.